


Pictures used:
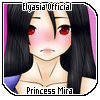
character
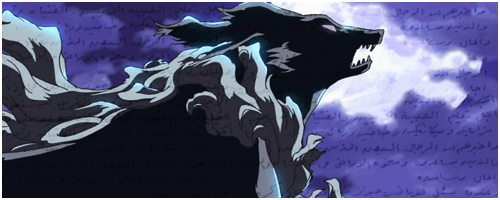
Musks
Okay, open up gimp. Then go to Fire>New and make it 100 by 100 PX. Then hit OK. Simple hm? here's what should show up:

Now let's get the character photo. If the photo is saved to your pc then go to File>Open as Layer then pick the photo you want to use. If it's not saved and you just copy the photo like me then go to File> Create > from Clipboard. OR go Edit >Paste as > New layer. Either way you do it, get your photo as a new layer over the background of our icon. Move it around until you got it where you want it. Mine looks like this:

Okay next we pick a mask. You may pick any that you wish. I play around until I get the one I like. Oh yea, make sure you make a new layer. XD sorry forgot until I hit it.
Once you got your mask, move it behind the photo. Which you'll need to change the mode of your character photo to Multiply or Screen depending on your mask color.
Hint: White masks you'll need to change the mode to Multiply as Black masks you'll need to change it to Screen.
Mine so far:

Moving on, we need a background. hmm You can do different things for the background, but here's what I'm doing. Make a Visible of what you got then delete the photo and mask layers. Then On the background layer, color it #00053f a dark blue shade. And then you are done unless you want to do more to it.
If you want a border:
Then make a new layer. Use the background layer and select all of it. Then go to Selete > Border. A small pop up will show up and then you can set it by 2 px and border style > Hard.
If you want txt:
If you wanna add some text to the icon, you may but keep it small. Here's what I did with a text brush I have.
If you don't want background but text:
you can. With the mask the mask I pick, you can. Just detele the background and leave the text layer. When you save this kind of icon. do it as a .png btw.
Personality I like the last one. XD but that is all. If you try this tut out, show me in below. ^_^
#agtutorial

